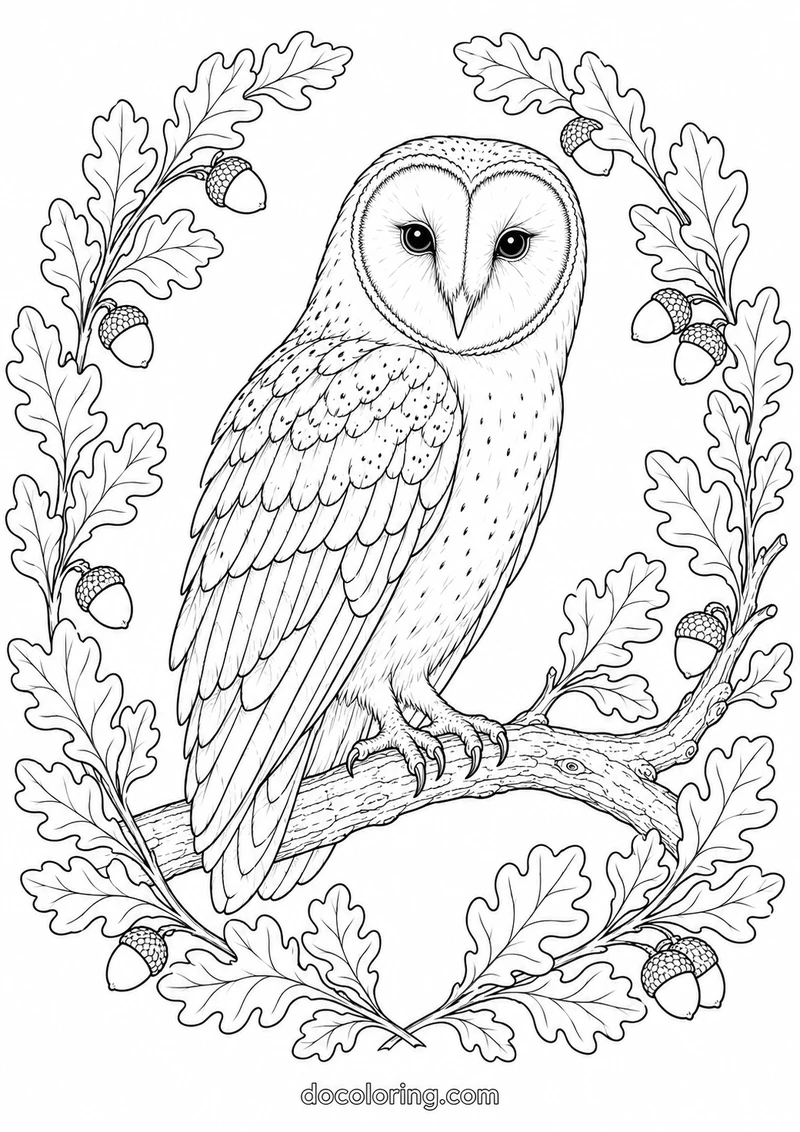

Choose from 24 woodland animal coloring pages, from a curled fox and a mouse with an acorn to detailed owls, deer, and forest birds. Each sheet has a small colorable docoloring.com mark at the bottom.
Prefer larger areas? Start with the sleeping fox, wood mouse, or robin. For finer detail, try the pine marten or wild boar. The detail labels describe these particular sheets; they are suggestions, not age limits.
Download all 24 pages – A4 PDF | Download all 24 pages – US Letter PDF
Open an individual PDF below for one design, or choose page numbers when printing a collection PDF. There is one design per PDF page, in the same order as this article.
1. Barn owl in an oak wreath
Detail level: Intermediate
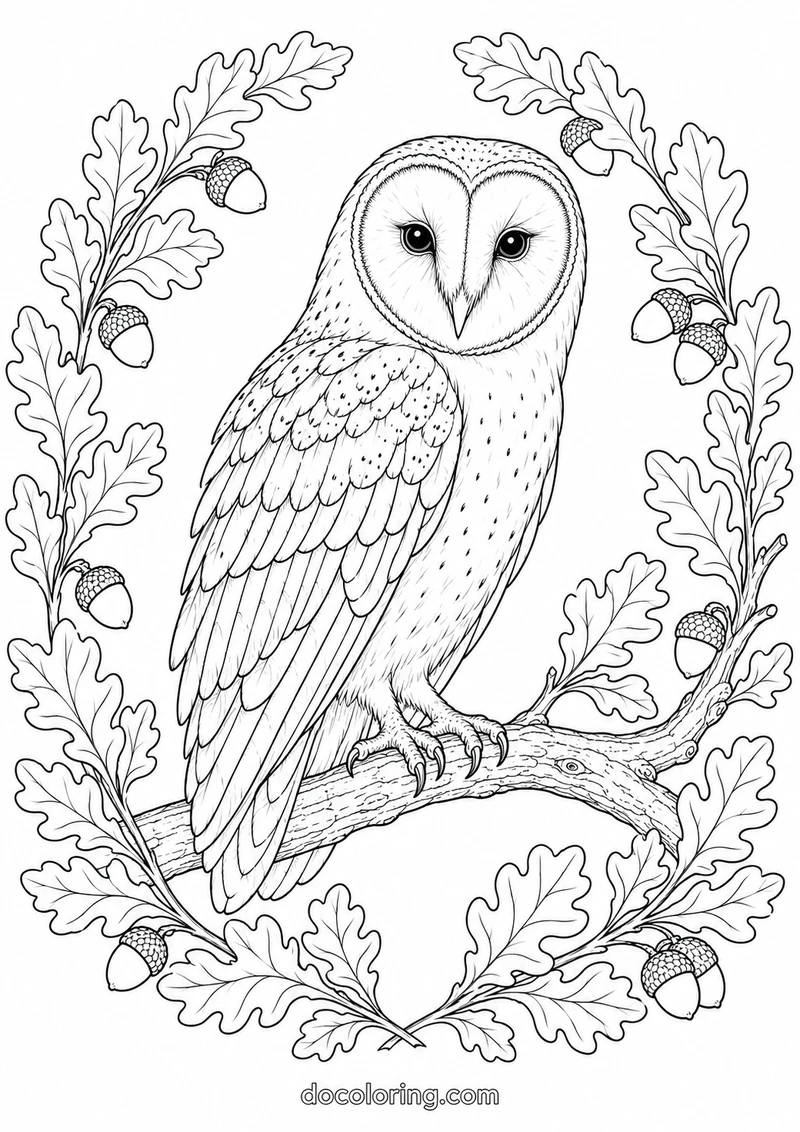
An oak-leaf wreath frames the owl, with repeated shapes that suit a limited autumn palette. Work from the facial disc outward so the bird stays the focal point.
Coloring idea: Keep the facial disc cream and use golden browns on the wings. Alternate amber and olive leaves around the owl.
2. Tawny owl in a tree hollow
Detail level: Intermediate
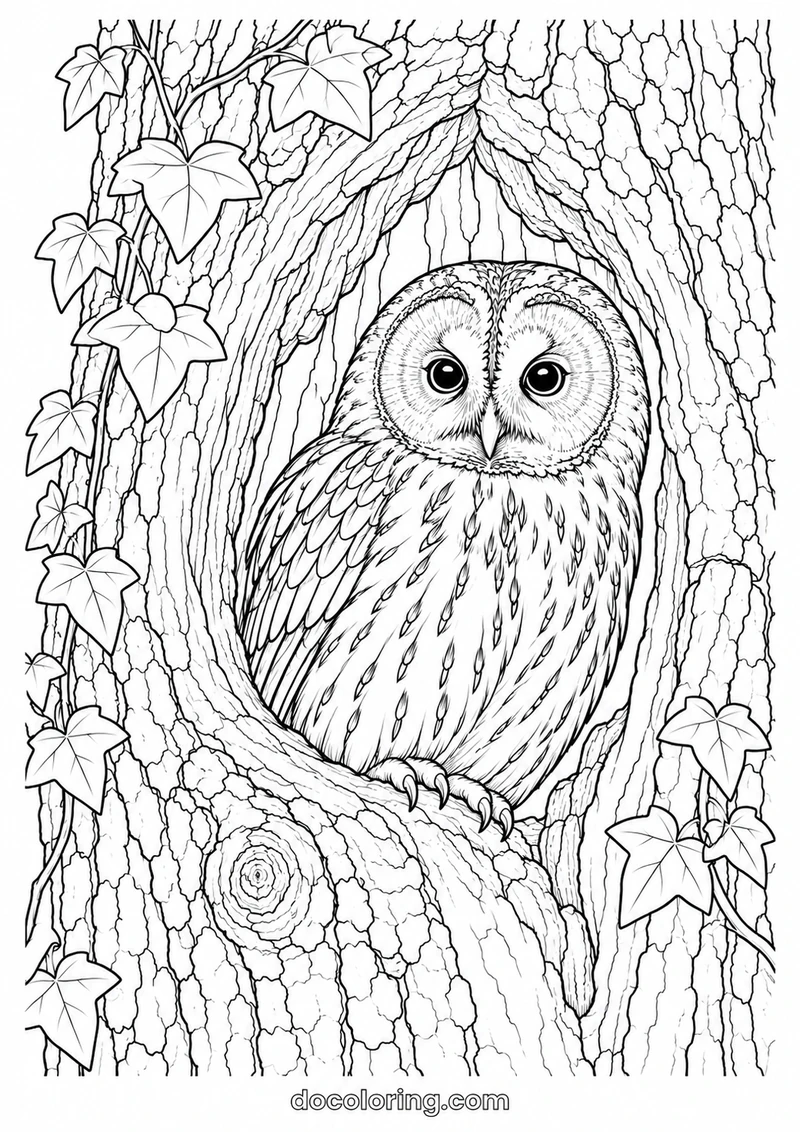
The tree hollow creates a natural frame around the owl. Large leaves break up the smaller bark and feather details, giving you places to rest between intricate areas.
Coloring idea: Separate the bark from the feathers with cooler and warmer browns. Leave the hollow darkest near its upper edge.
3. Long-eared owl among pine branches
Detail level: Advanced
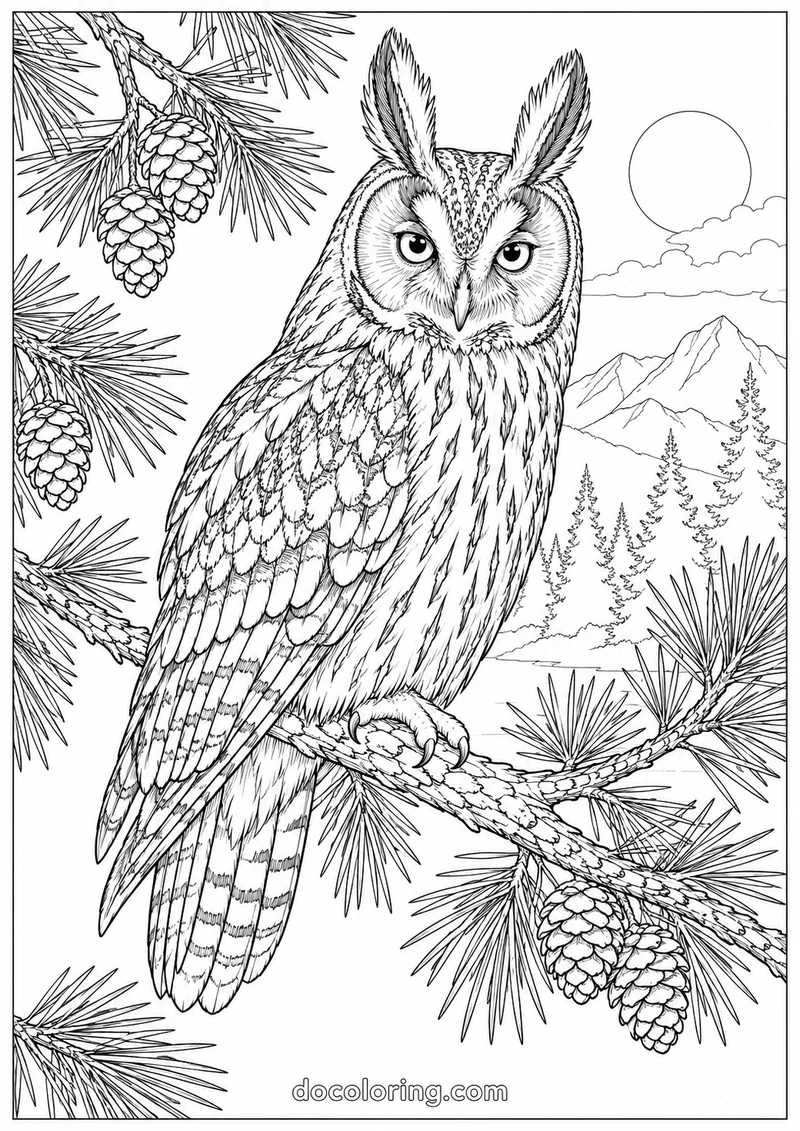
Pine needles and layered feathers make this one of the busier sheets. Finish a small branch at a time, then return to the owl rather than trying to color the entire background first.
Coloring idea: Use light pencil strokes for the ear tufts. Choose two greens for the needles so the branches remain readable.
4. Little owl on a mossy stump
Detail level: Beginner
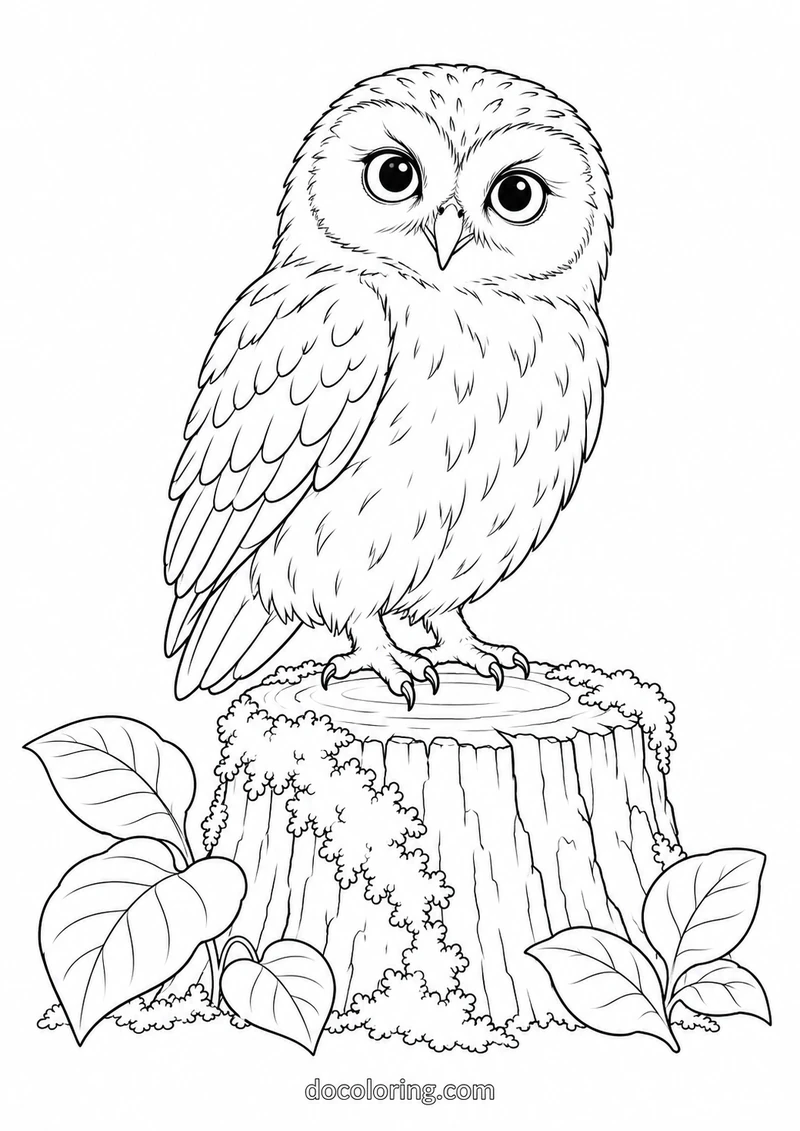
The compact owl and mossy stump make a manageable starting point. Leave some paper visible between pencil strokes to keep the soft feather texture light.
Coloring idea: Start with broad tan areas on the owl. Add muted green moss after the stump and feet are clearly defined.
5. Red fox curled beneath a fern
Detail level: Beginner
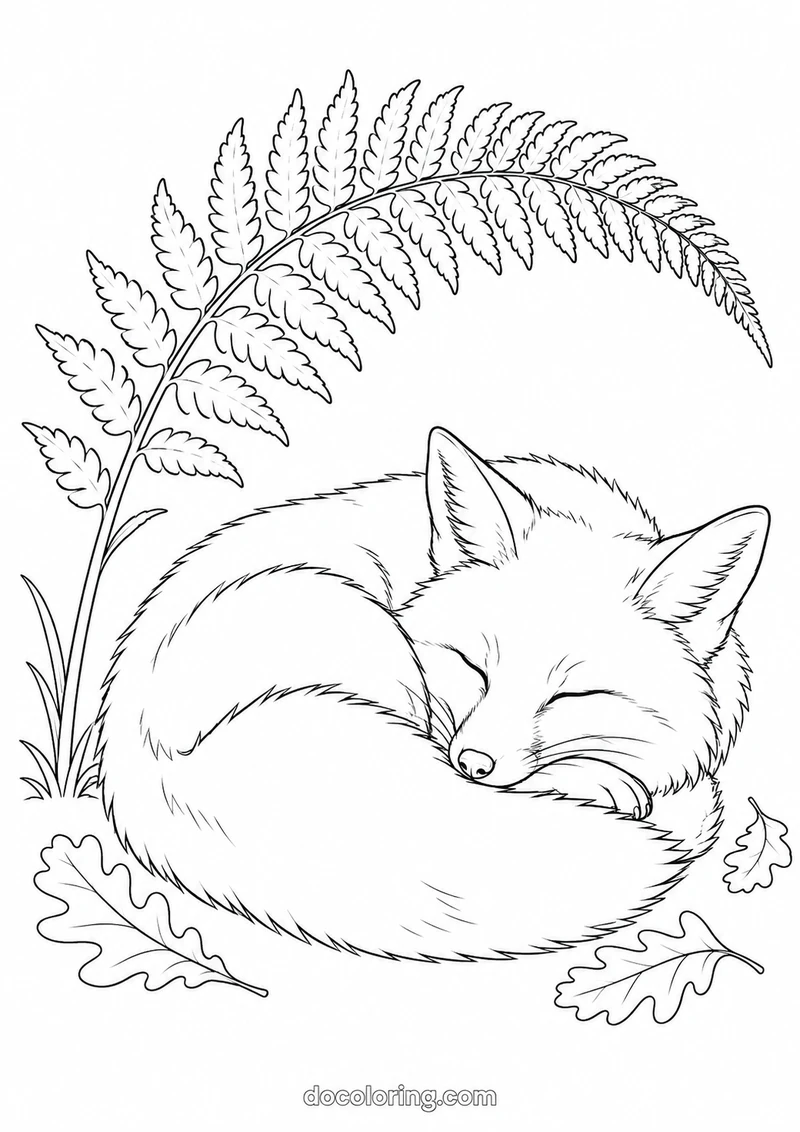
The curled pose groups the fox into broad, flowing shapes. Follow the curve of its body when layering color, and let the fern provide a cooler contrast.
Coloring idea: Try burnt orange fur against blue-green fern leaves. Keep the curled tail tip pale to emphasize its shape.
6. Fox beside a woodland stream
Detail level: Intermediate
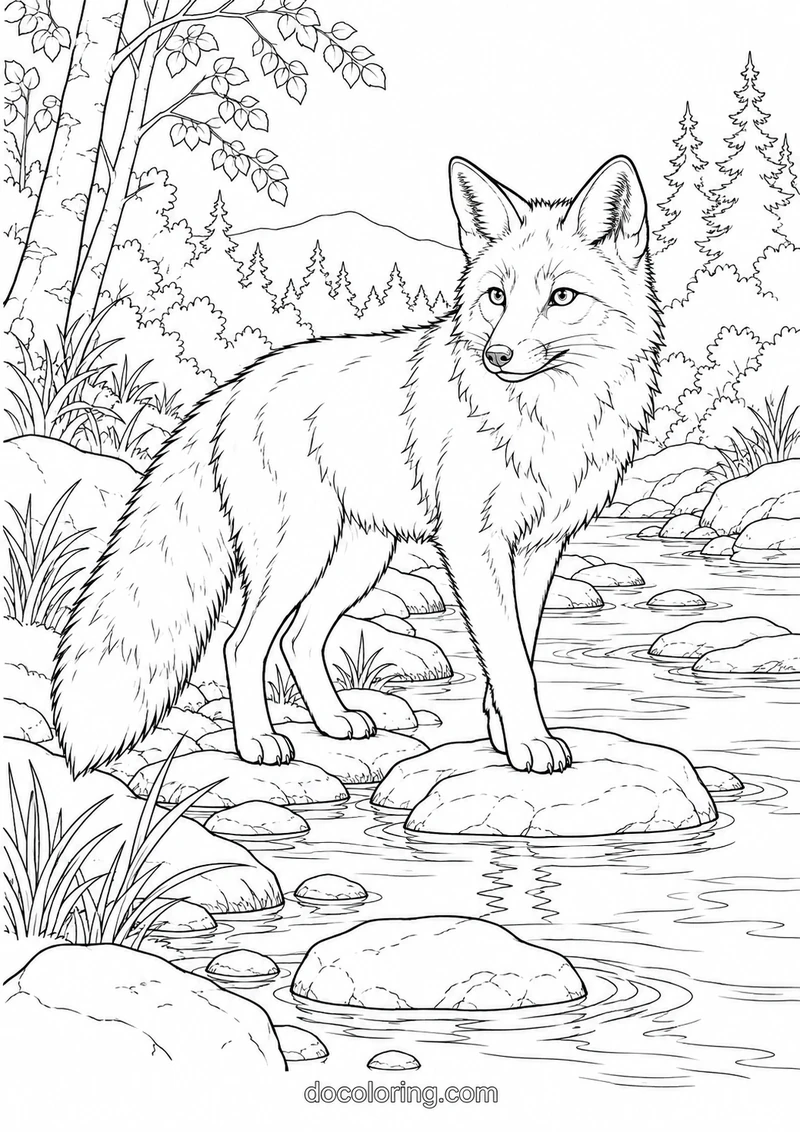
This scene combines fur, stones, water, and foliage. Choose a small palette for each material before you begin so the many details still feel connected.
Coloring idea: Leave narrow white gaps in the water for reflections. Keep the fox warmer than the surrounding stones.
7. Badger at the entrance to its sett
Detail level: Intermediate
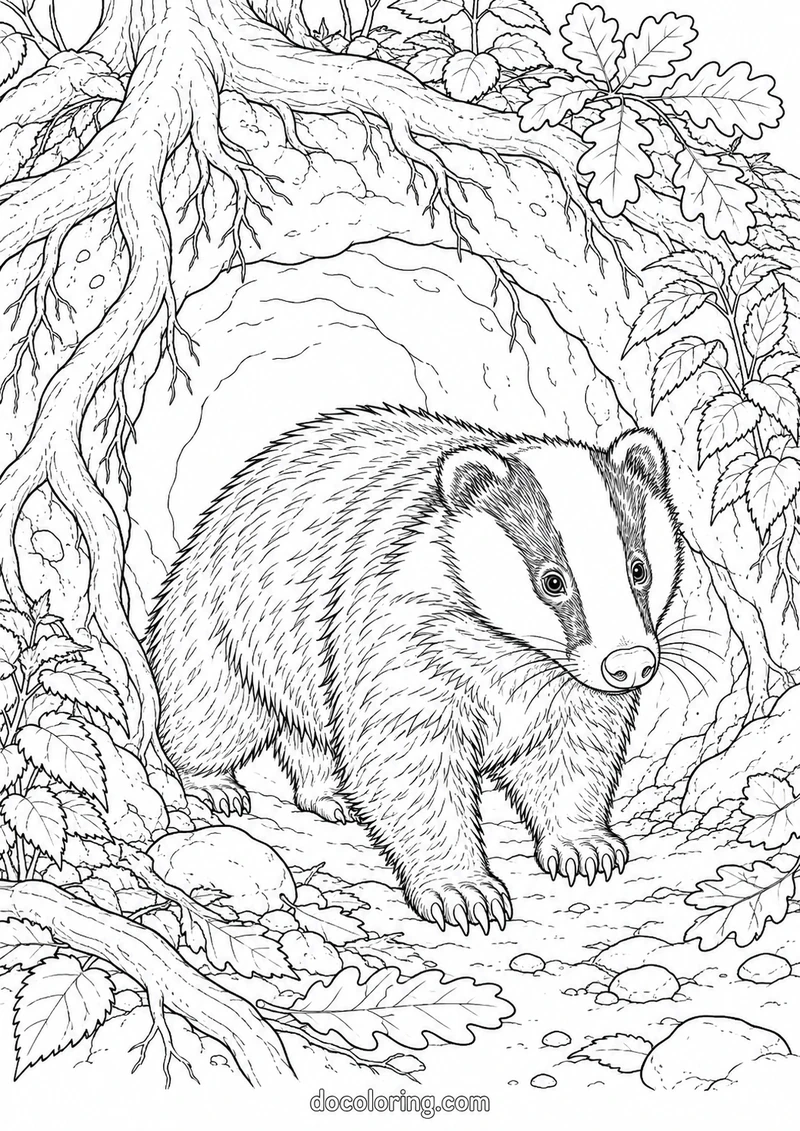
The badger sits against the entrance to its home, with textured ground and foliage around it. Establish its facial markings first, then work outward into the setting.
Coloring idea: Build the facial stripes gradually with dark gray. Use earthy browns around the entrance and softer tones farther away.
8. Hedgehog beside fallen oak leaves
Detail level: Beginner
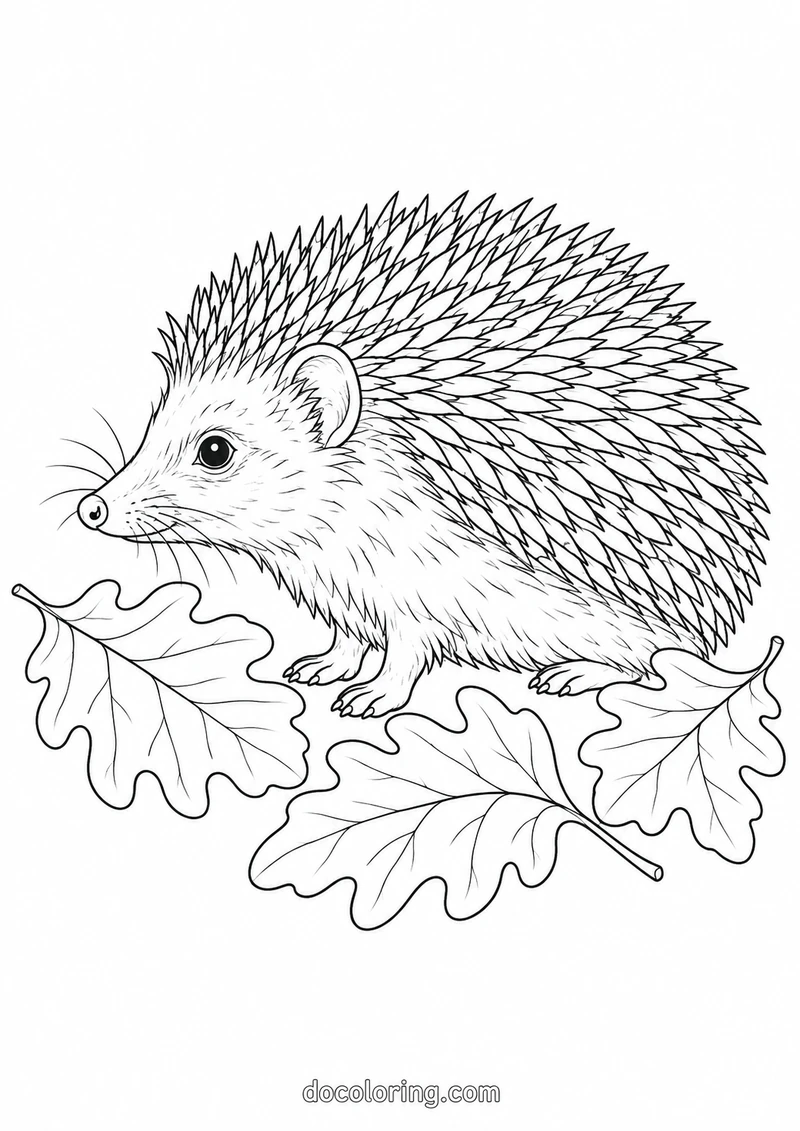
The hedgehog offers repeating spine shapes alongside broad oak leaves. You can color each spine group separately or sweep a light base color across the whole body.
Coloring idea: Color groups of spines in alternating browns. Give the foreground leaves one brighter accent color.
9. Red squirrel gathering hazelnuts
Detail level: Intermediate
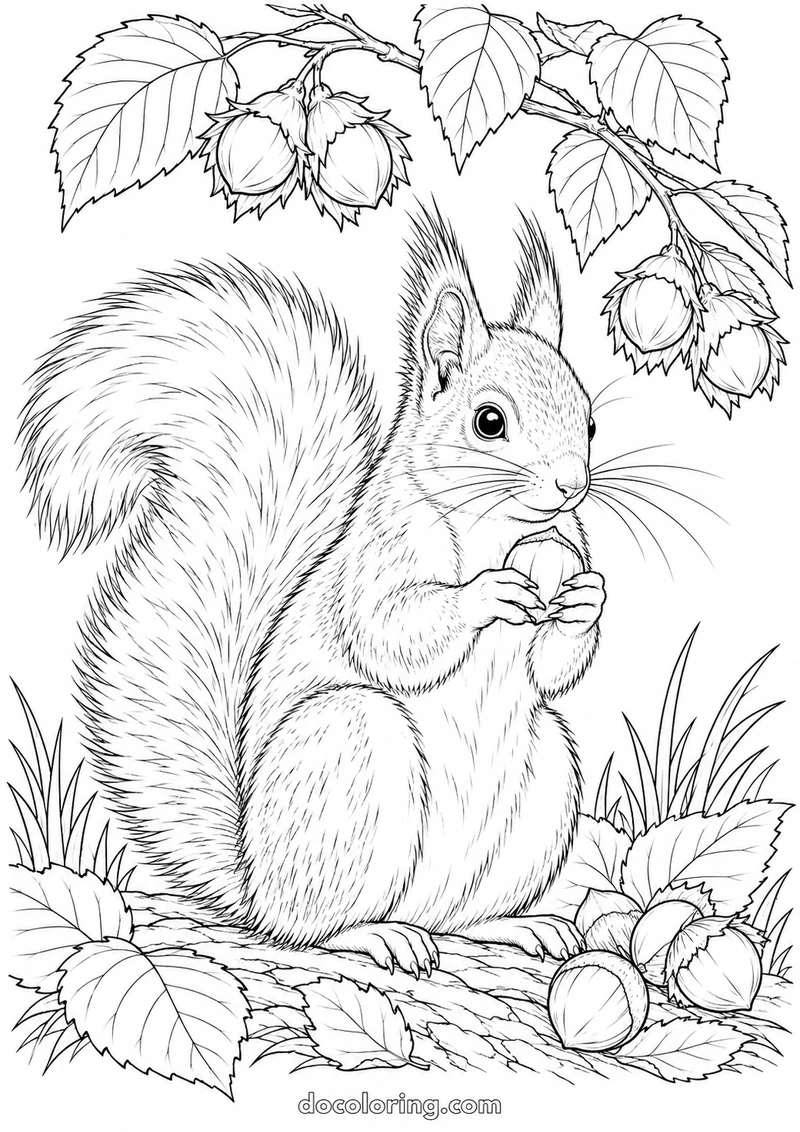
The squirrel’s full tail supplies most of the fine detail. Color the hazelnuts and face first, then build the tail gradually with strokes that follow its outline.
Coloring idea: Follow the tail’s curve with short strokes. Use lighter tan for the nuts so they stand apart from the fur.
10. Pine marten on a fallen branch
Detail level: Advanced
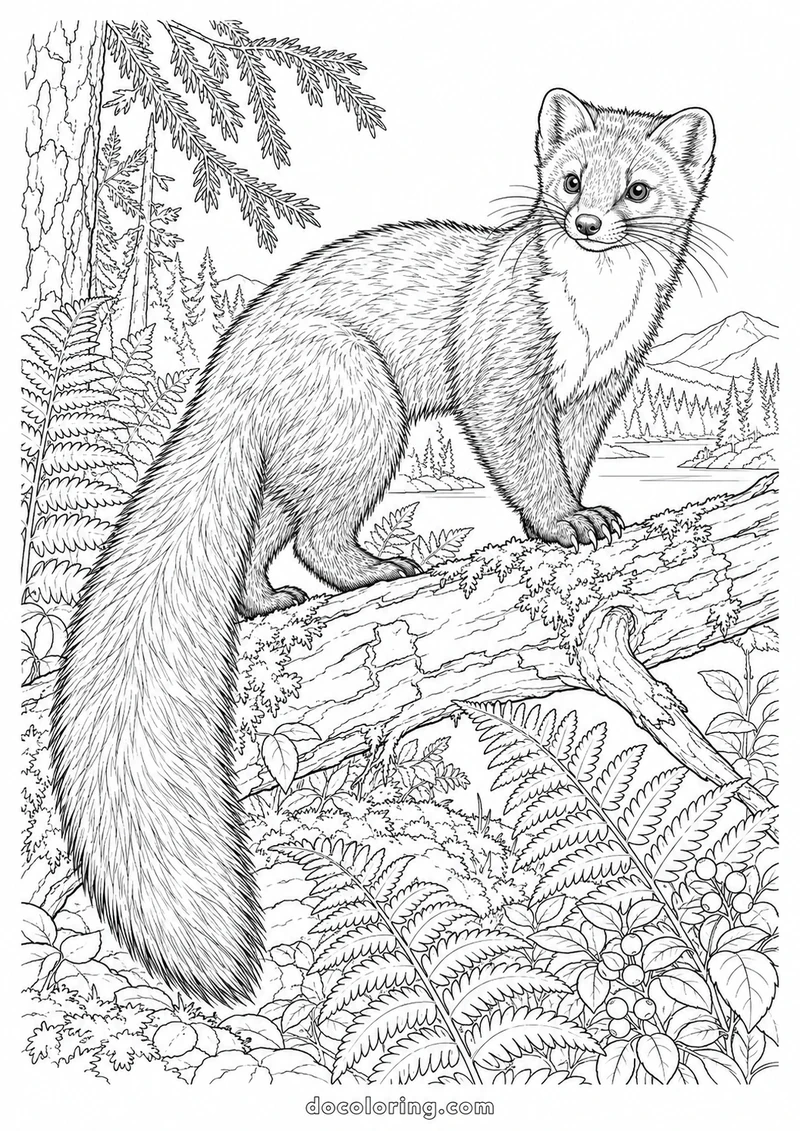
The marten stretches across a textured fallen branch surrounded by ferns. The detailed fur and layered plants reward short sessions focused on one section at a time.
Coloring idea: Reserve a pale patch beneath the throat. Vary the bark’s browns while keeping its contrast lower than the animal’s.
11. Roe deer beneath birch trees
Detail level: Intermediate

Pale birch trunks frame the deer and leave room for a soft woodland palette. Keep distant shapes lightly colored if you want the animal to stand forward.
Coloring idea: Keep the birch trunks pale. Give the deer a warm coat and use light, cool colors for distant foliage.
12. Red deer stag in a forest clearing
Detail level: Advanced
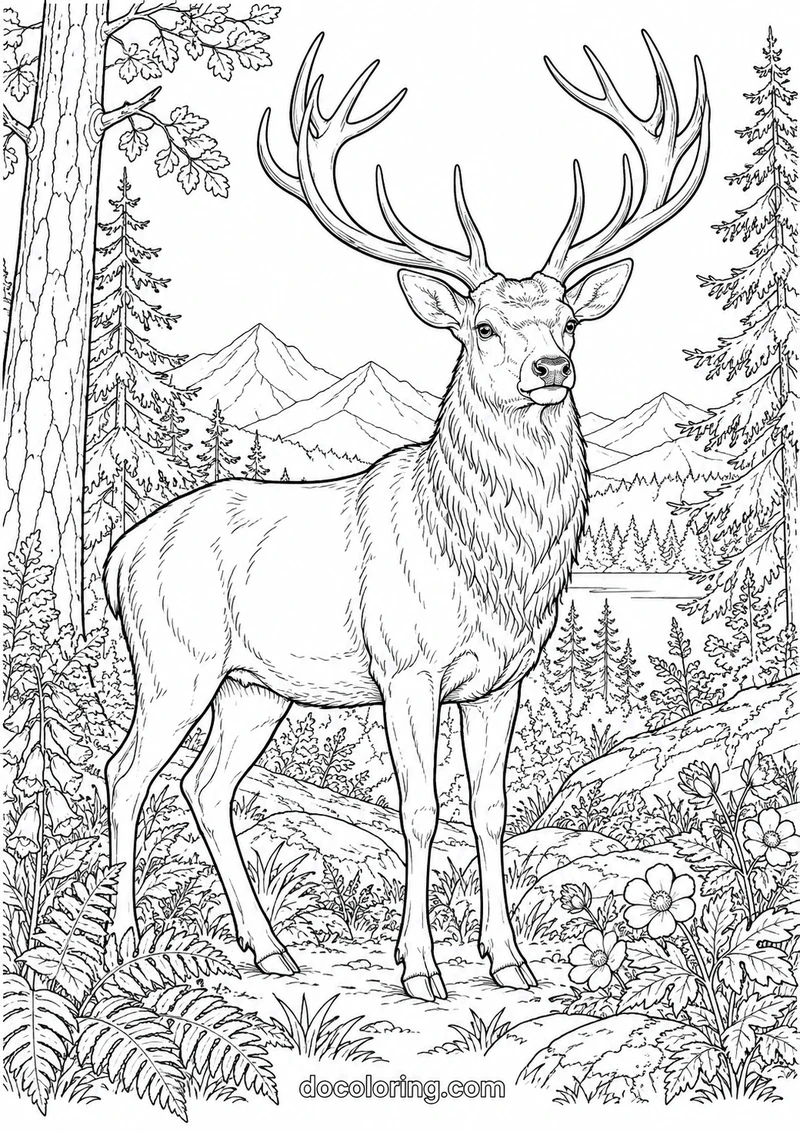
The stag’s antlers reach into an open area above the forest scene. Start with the animal before filling in the smaller leaves and ground details around its legs.
Coloring idea: Work around the antlers carefully and keep the background quiet. Use a darker chest to give the body depth.
13. European rabbit beneath brambles
Detail level: Beginner
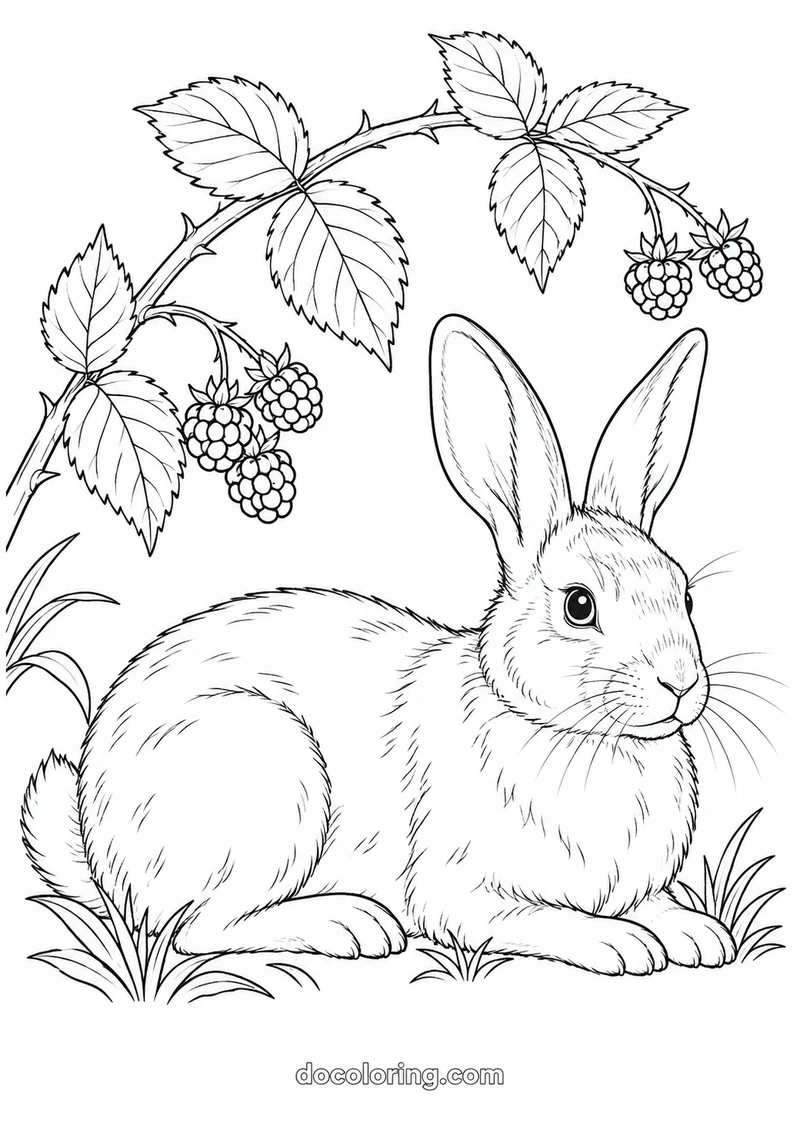
A resting rabbit sits beneath a bramble arch. Broad areas on its body make this a gentler sheet, while the berries offer small accents for a brighter color.
Coloring idea: Use broad, gentle strokes for the body. Add one muted berry color after finishing the leaves.
14. Wood mouse with an acorn
Detail level: Beginner
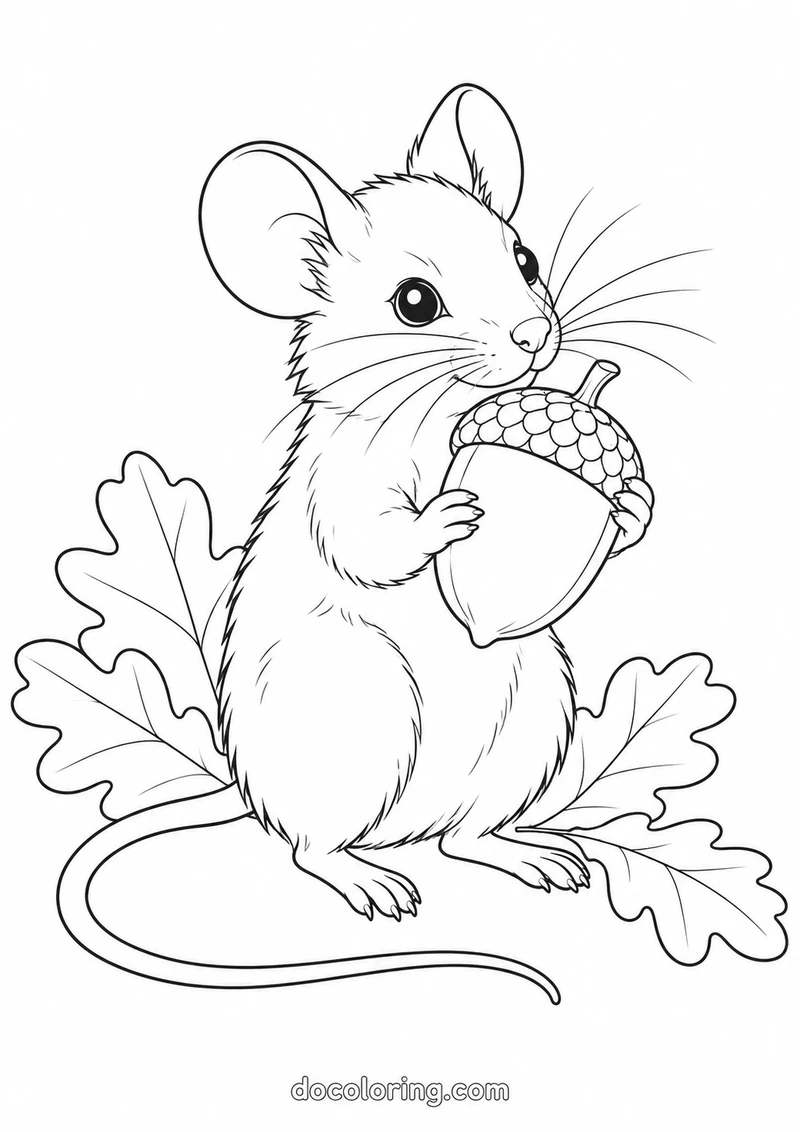
The mouse holds an oversized acorn between its paws, with a few oak leaves around it. This simple arrangement is a useful place to try a two- or three-color palette.
Coloring idea: Keep the ears and paws softly pink. Shade the acorn cap more strongly than its smooth lower half.
15. Dormouse resting on a hazel branch
Detail level: Intermediate
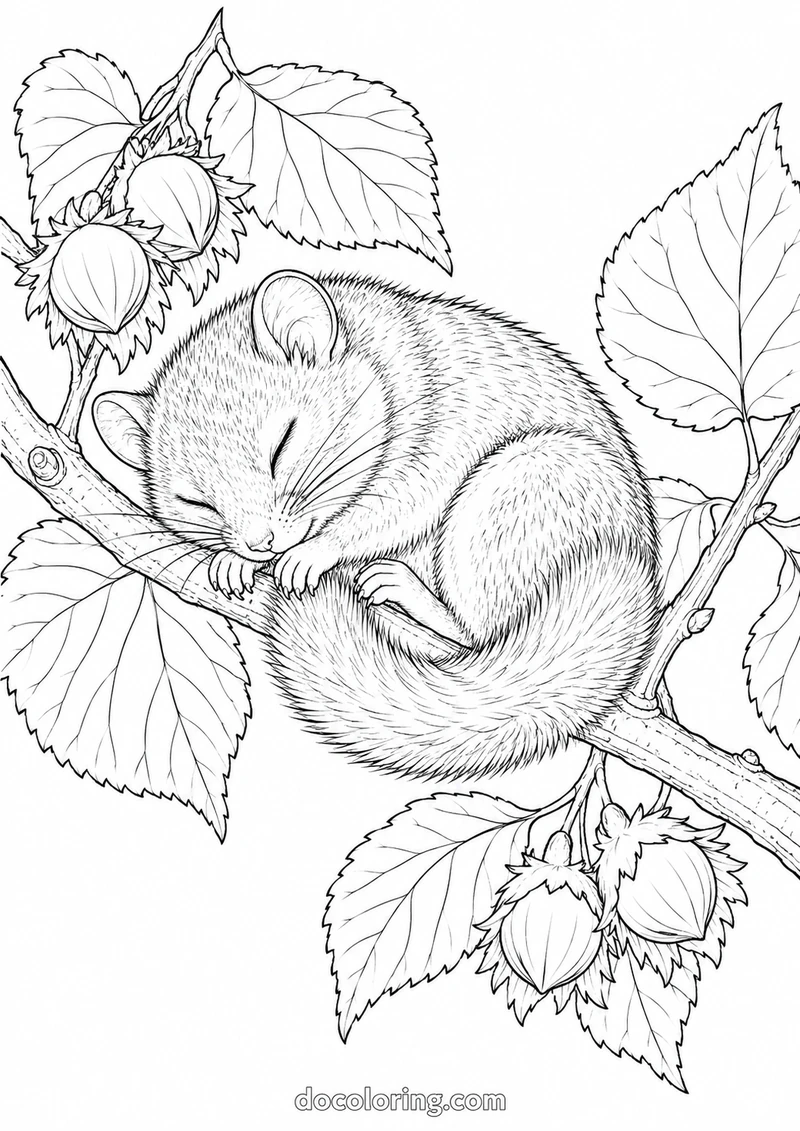
The sleeping dormouse curls around a hazel branch. Let the hazelnuts and leaves carry stronger colors while keeping the furry body soft and light.
Coloring idea: Let the curled body stay light. Use leaf veins to guide your strokes without outlining every vein heavily.
16. European robin on a holly branch
Detail level: Beginner
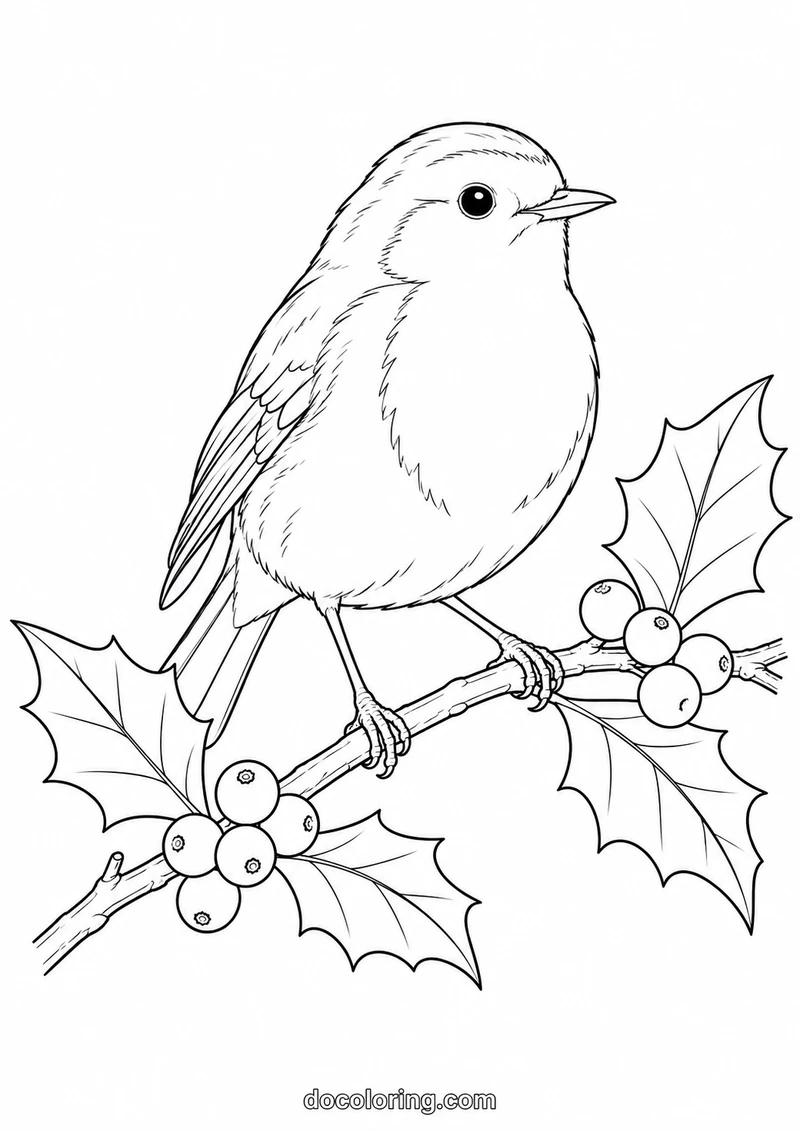
A round robin perches above a small group of holly berries. The open breast area is suited to gradual pencil blending from warm orange into a lighter belly.
Coloring idea: Build the breast color lightly before deepening it. Keep the red berries a different shade from the bird.
17. Great spotted woodpecker on birch
Detail level: Intermediate
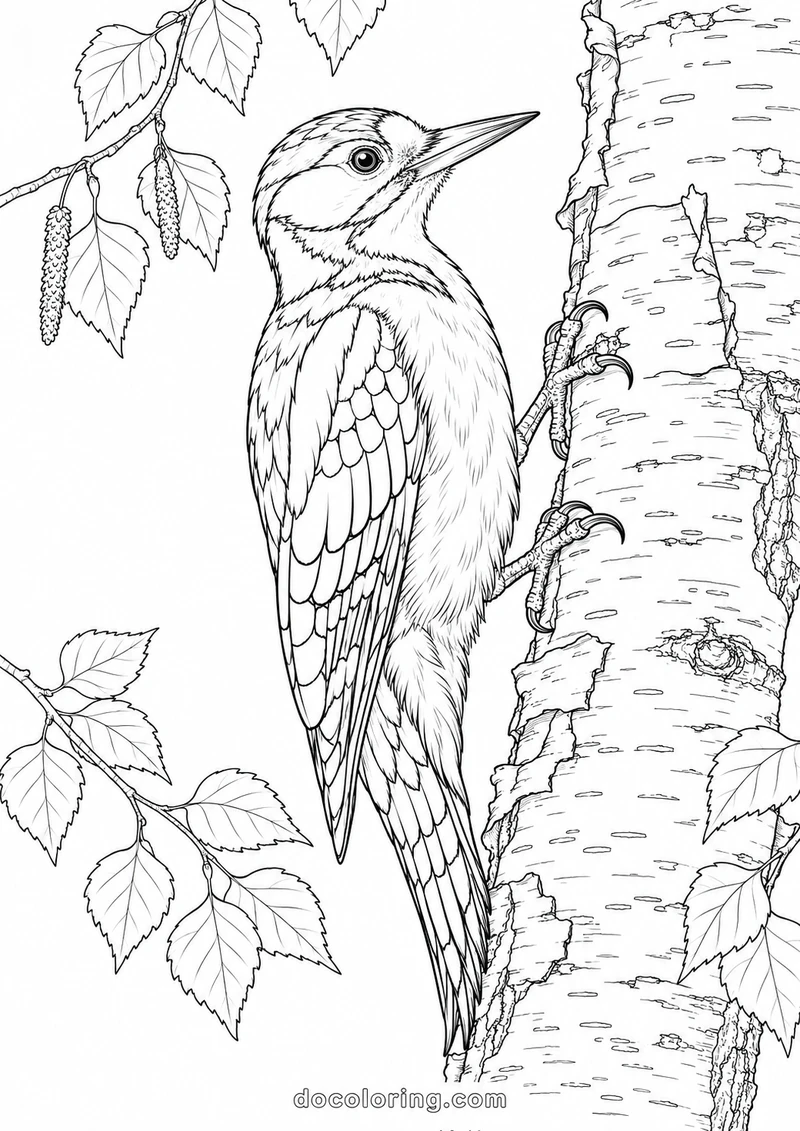
The woodpecker clings to a birch trunk with its tail pointing downward. The feather sections are left open so you can decide where to add dark markings.
Coloring idea: Save the paper white for pale feather patches. Use dark gray in layers rather than pressing hard immediately.
18. Eurasian jay with oak leaves
Detail level: Advanced
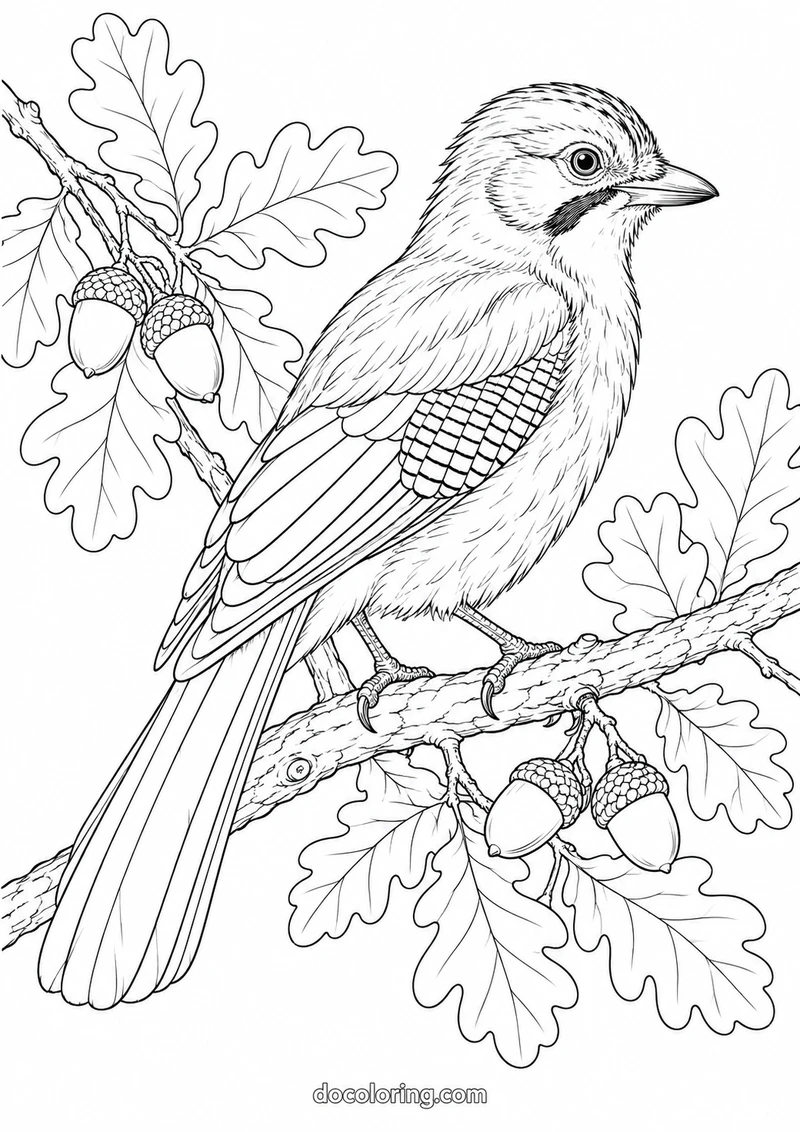
The jay’s patterned wing panel sits among layered feathers and oak leaves. Use the small barred shapes as an accent, then choose quieter colors for the branch.
Coloring idea: Try a small blue accent on the wing. Keep surrounding browns subdued so the wing pattern remains visible.
19. Eurasian nuthatch descending a trunk
Detail level: Intermediate
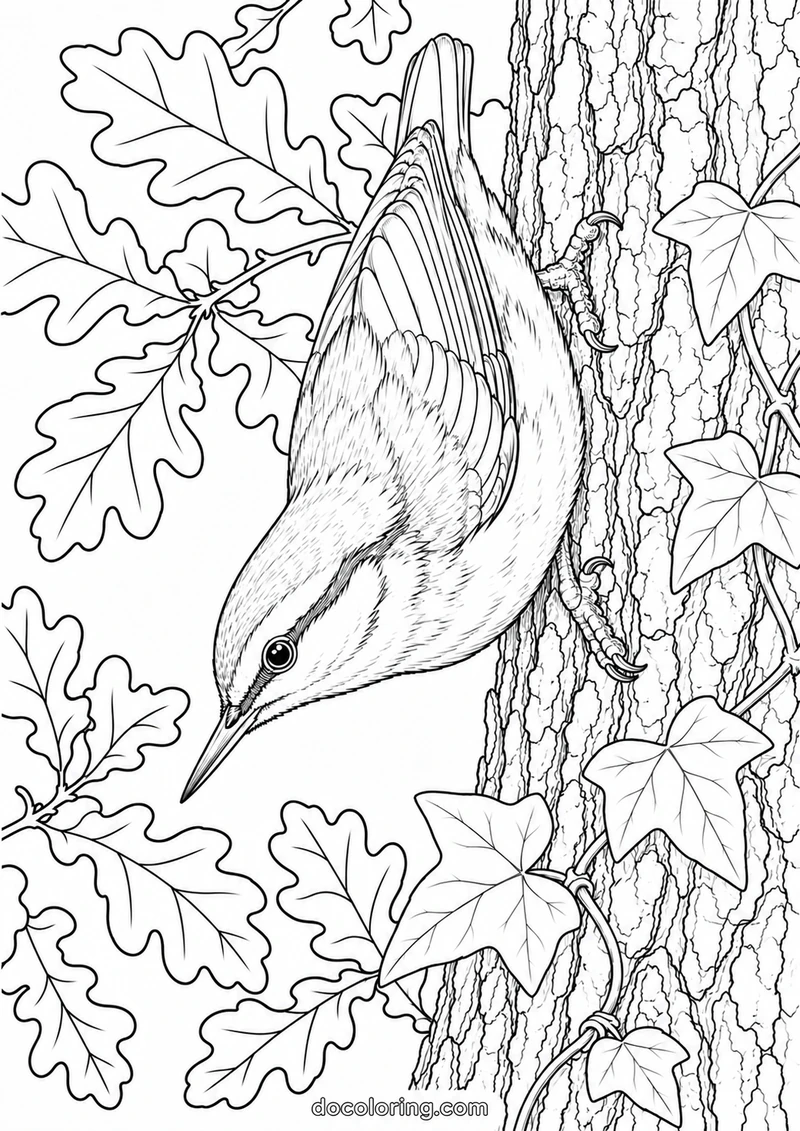
The downward-facing bird creates a different pose from the perched birds in this set. Vertical bark lines and broad surrounding leaves give you contrasting textures to color.
Coloring idea: Use cool gray-blue above and warm buff below. Follow the trunk vertically to contrast with the bird’s angled pose.
20. Coal tit among pine cones
Detail level: Intermediate
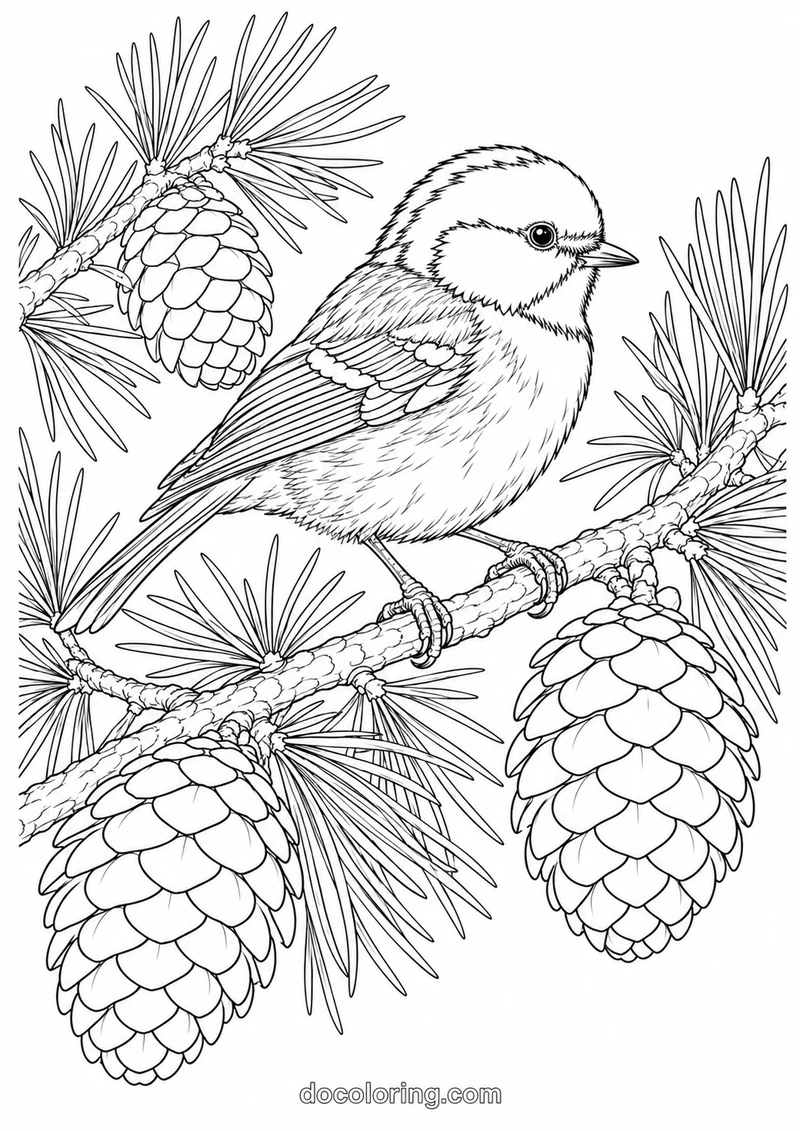
Pine cones surround the small bird with repeated overlapping scales. Work from the back of each cone toward the front, keeping the upper edges lighter if you want depth.
Coloring idea: Keep the cheek patches pale. Alternate light and dark cone scales to separate their overlapping shapes.
21. Blackbird among blackberries
Detail level: Intermediate
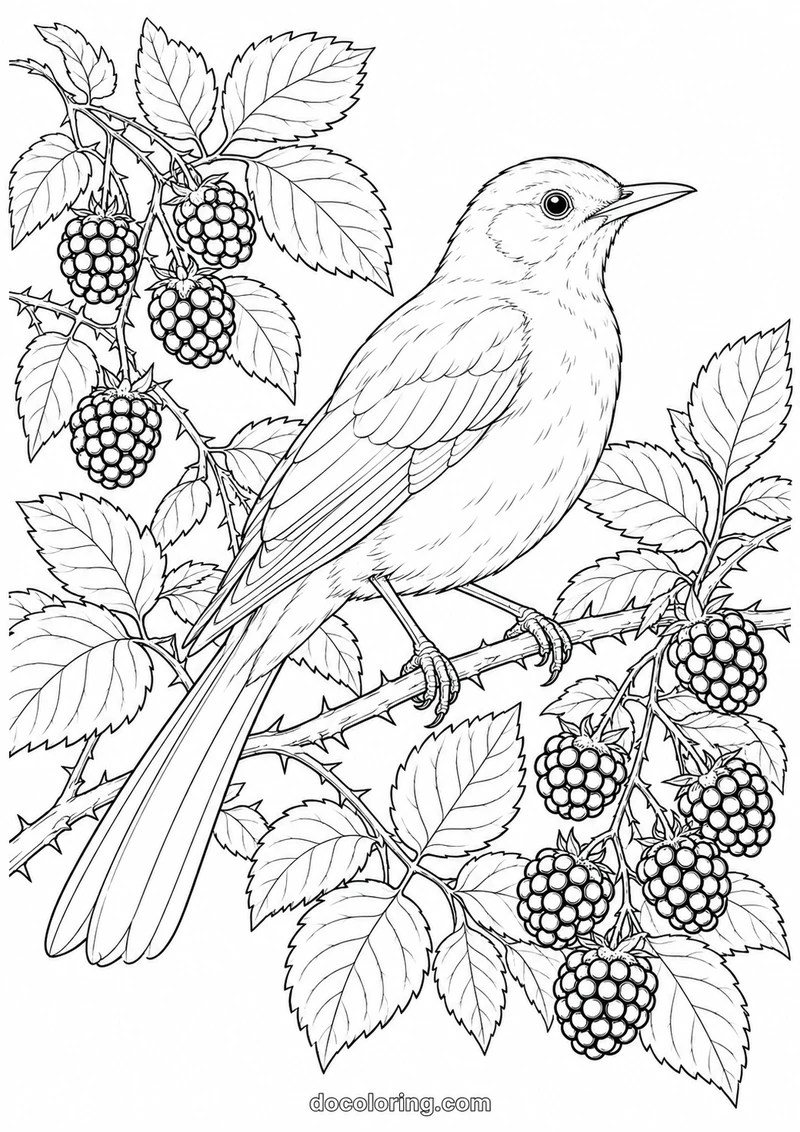
The blackbird is left unfilled so you can build your own dark feather colors. The clustered berries provide many small rounded shapes for practicing highlights.
Coloring idea: Use blue-gray and brown-gray for the feathers instead of flat black. Leave tiny highlights on the berries.
22. European beaver beside a willow
Detail level: Intermediate
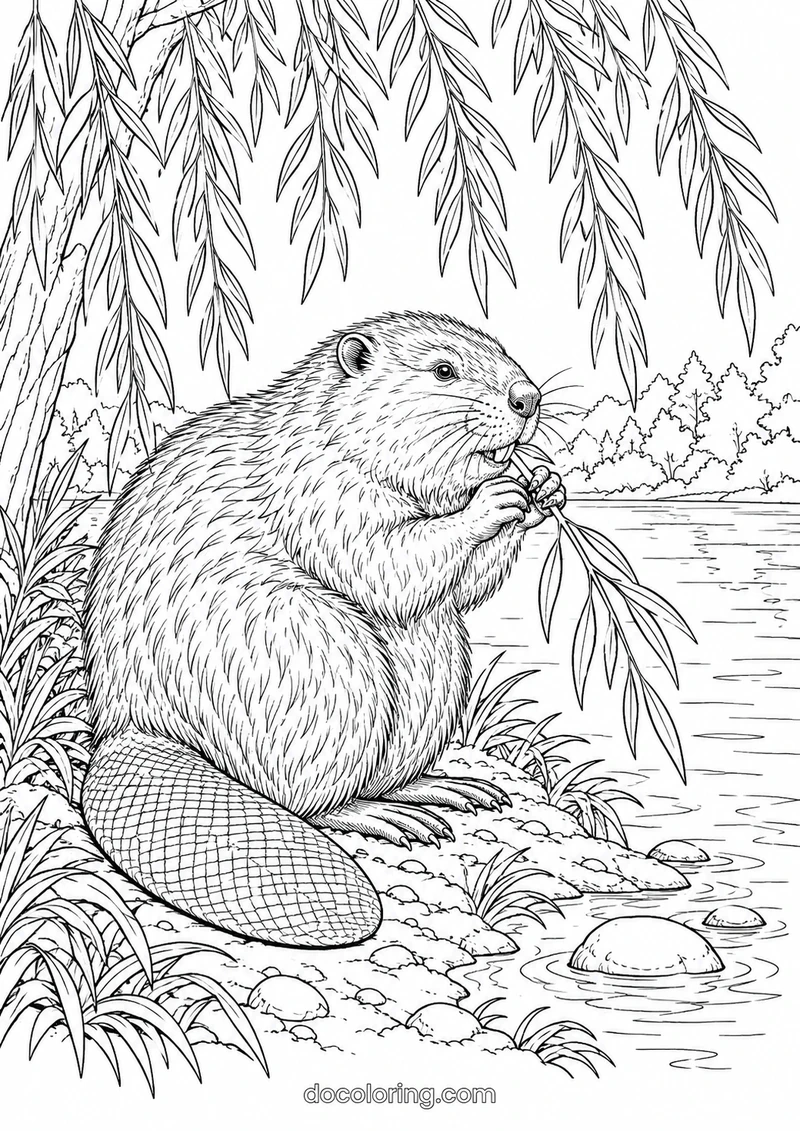
The beaver’s broad tail and willow leaves offer two very different textures. Color the tail in groups of scales, then use long strokes along the narrow leaves.
Coloring idea: Use broad browns for the body and softer greens for the willow. Keep the water lighter than the bank.
23. Eurasian otter beside river reeds
Detail level: Intermediate
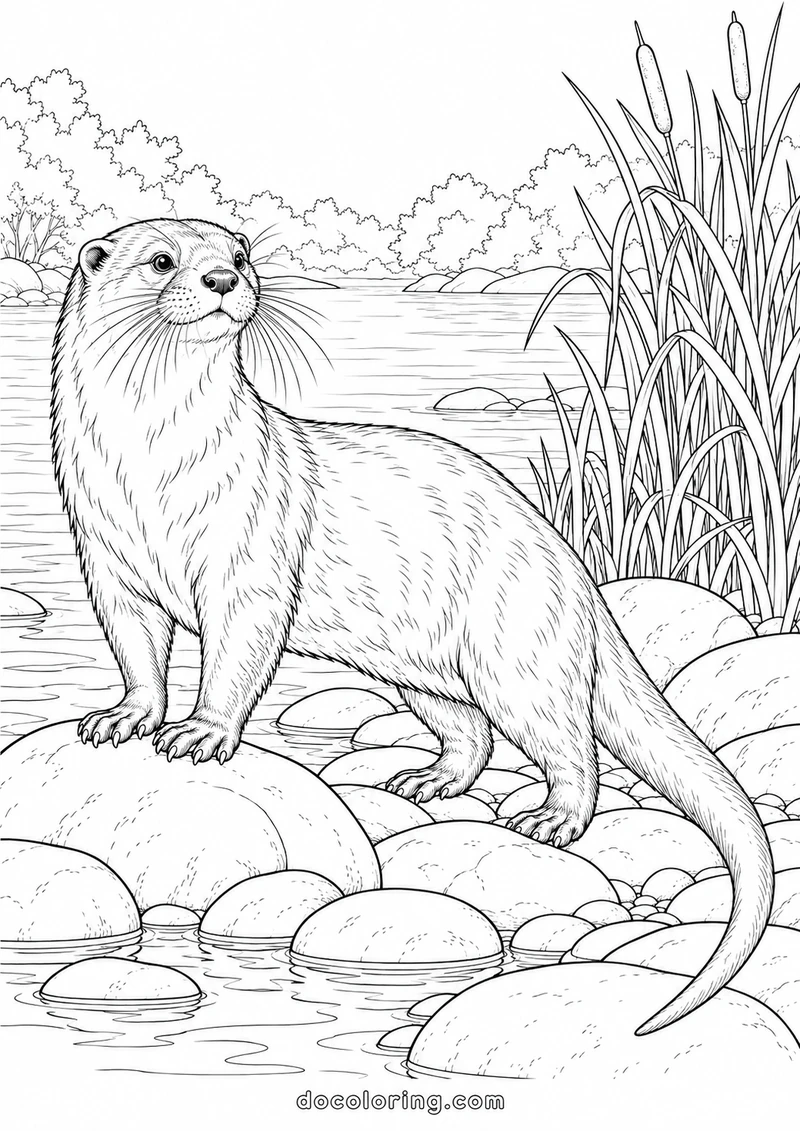
The otter stands on smooth river stones beside tall reeds. Leave the stones relatively simple to keep attention on the face, whiskers, and sweeping tail.
Coloring idea: Keep the muzzle pale and use gentle shading around the eyes. Repeat a small set of greens through the reeds.
24. Wild boar among fallen chestnuts
Detail level: Advanced
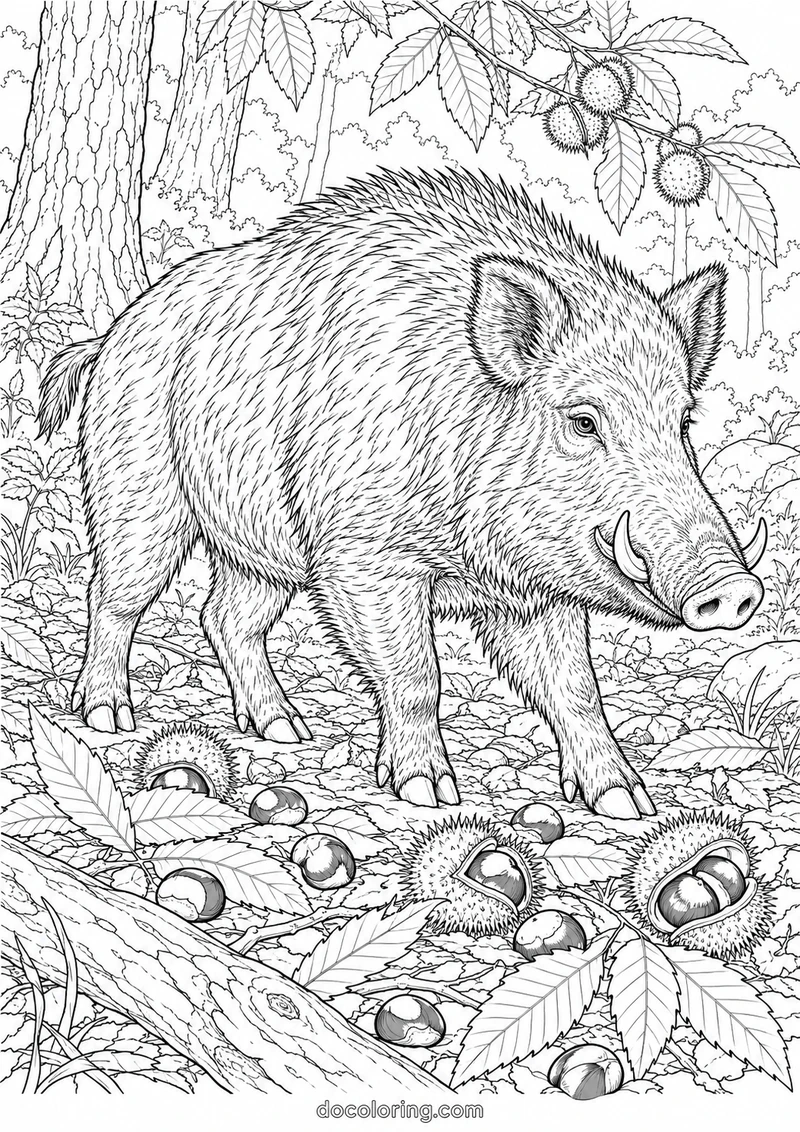
Bristles, leaves, and chestnut husks make this a detailed finishing challenge. Complete the boar first, then choose a few foreground chestnuts to emphasize.
Coloring idea: Follow the bristle direction with short strokes. Make the chestnuts slightly warmer and smoother than the surrounding ground.
Printing your pages
- Choose the A4 or US Letter collection to match your paper. Individual PDFs use A4.
- Open the downloaded PDF and select portrait orientation, one page per sheet, and Fit to printable area.
- Print one sample before printing the collection. The PDFs include margins around the artwork.
- For a single image from the US Letter collection, select its article number in your printer’s page range.
Choosing materials and colors
Colored pencils are a convenient choice for the smaller feather and bark details. Use light layers before increasing pressure. For markers, place a spare sheet beneath your work and check your printer’s paper guidance before choosing thicker stock.
Try a restrained woodland palette of warm brown, olive, cream, and one accent color. Repeat that accent in two or three places, such as a berry cluster and a few leaves. You can also use imaginary colors; the sheets are creative illustrations rather than identification charts.
Questions about the collection
Do I have to print all 24 pages?
No. Download one individual sheet, or enter only the page numbers you want when printing the collection PDF.
Which designs have the most open space?
The wood mouse, sleeping fox, rabbit, little owl, hedgehog, and robin are good starting points. Preview a sheet before choosing because even the simpler designs include some fine lines.
Why is the website name on each sheet?
The small outline mark helps you find the collection again after printing. You can color the lettering as part of your page.
How were these illustrations made?
These illustrations were created with AI tools for DO Coloring and reviewed for use as coloring sheets. Two sheets were revised to remove unwanted shading or blurred lines.
Explore another collection
For dog portraits and winter scenes, explore our realistic husky coloring pages.

